Google Pixel 8 Pro
Android 14
Select help topic
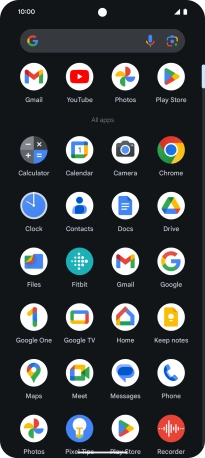
1. Find "Contacts"
Slide your finger upwards on the screen.
![](http://cdn.sp-selfservice.com/ml/7140524-f-47c90469-3a5a-4beb-ac1b-0fe26c546dd9.png?width=206&height=458)
Press Contacts.
![](http://cdn.sp-selfservice.com/ml/7140524-f-9babb6f9-e7e0-4a6e-8dcf-706dbe3521f3.png?width=206&height=458)
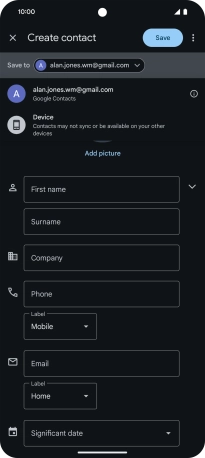
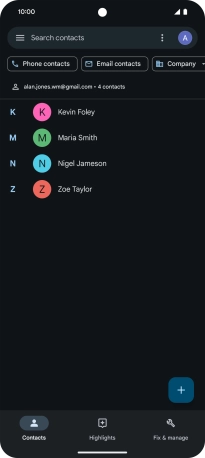
2. Create contact
Press the new contact icon.
![](http://cdn.sp-selfservice.com/ml/7140524-f-ae6fbb61-8daf-470e-b9a8-5317fb937b9e.png?width=206&height=458)
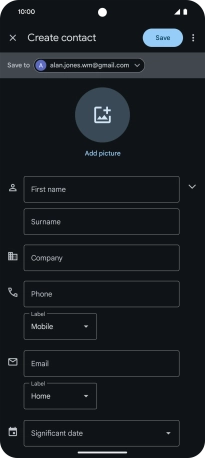
3. Select address book
Press the address book drop down list.
![](http://cdn.sp-selfservice.com/ml/7140524-f-f8e289e4-ffd2-4e66-9061-4de04822fe54.png?width=206&height=458)
Press the required Google account.
![](http://cdn.sp-selfservice.com/ml/7140524-f-cadc08e4-db89-41cc-bd86-db443ba84767.png?width=206&height=458)
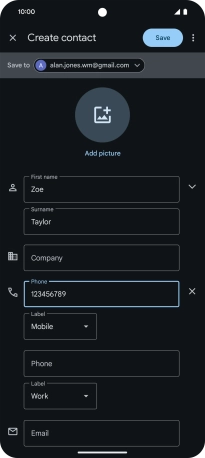
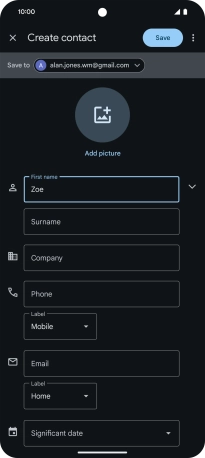
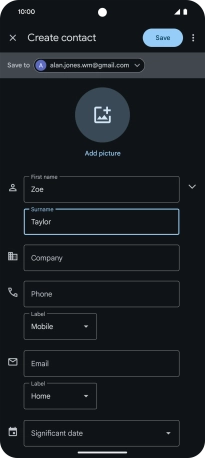
4. Enter name
Press First name and key in the required first name.
![](http://cdn.sp-selfservice.com/ml/7140524-f-f8e289e4-ffd2-4e66-9061-4de04822fe54.png?width=206&height=458)
Press Surname and key in the required last name.
![](http://cdn.sp-selfservice.com/ml/7140524-f-8d4a86a0-673a-4d05-8071-324a29365cef.png?width=206&height=458)
5. Enter phone number
Press Phone and key in the required phone number.
Follow the instructions on the screen to add more information such as email address and date of birth.
![](http://cdn.sp-selfservice.com/ml/7140524-f-94dad841-9240-449a-b68c-070192dd7bbe.png?width=206&height=458)
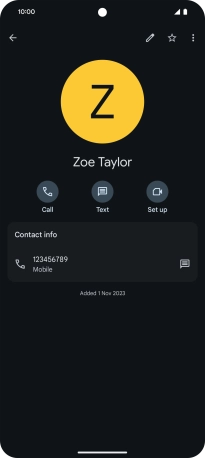
6. Save contact
Press Save.
![](http://cdn.sp-selfservice.com/ml/7140524-f-6af98fec-f8f0-4a66-9858-83a882257752.png?width=206&height=458)
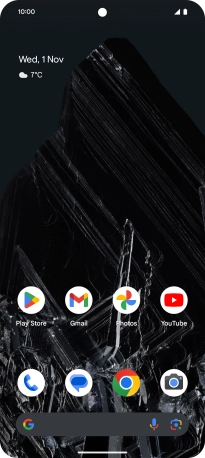
7. Return to the home screen
Slide your finger upwards starting from the bottom of the screen to return to the home screen.
![](http://cdn.sp-selfservice.com/ml/7140524-f-db319d9f-84ac-40f1-9ecf-1dc06320ca78.png?width=206&height=458)