Huawei P20 Pro
Android 8.1
Select help topic
1. Find "Access Point Name"
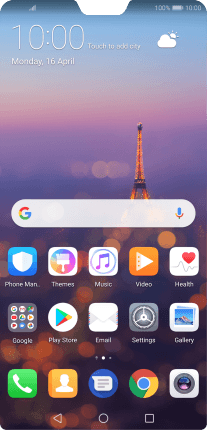
Press Settings.
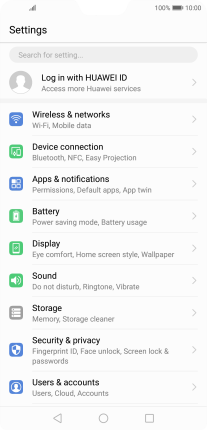
Press Wireless & networks.
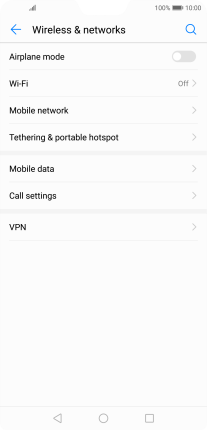
Press Mobile network.
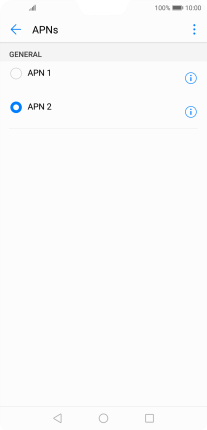
Press Access Point Name.
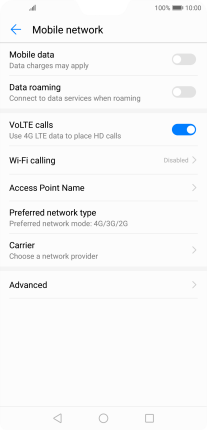
2. Create new data connection
Press the menu icon.
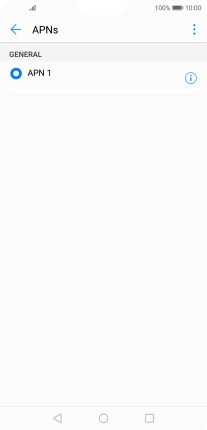
Press New APN.
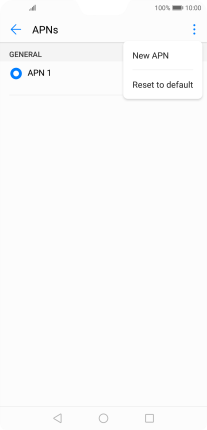
3. Enter a name for the connection
Press Name.
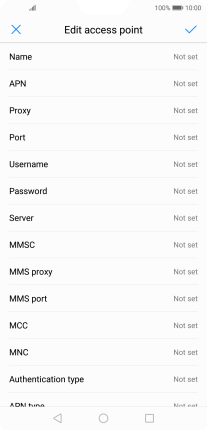
Key in Lebara Internet and press OK.
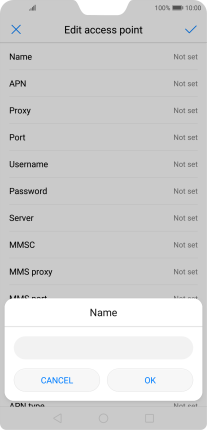
Lebara Internet
4. Enter APN
Press APN.

Key in uk.lebara.mobi and press OK.
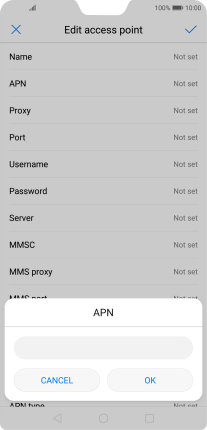
uk.lebara.mobi
5. Enter username
Press Username.

Key in wap and press OK.
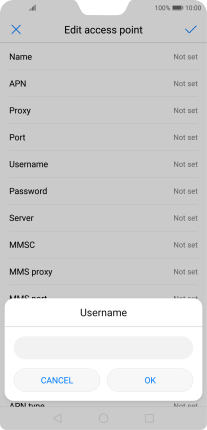
wap
6. Enter password
Press Password.

Key in wap and press OK.
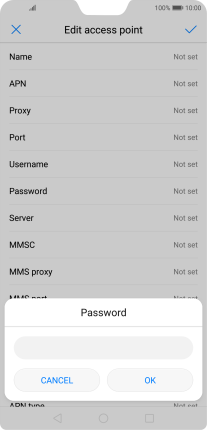
wap
7. Enter country code
Press MCC.
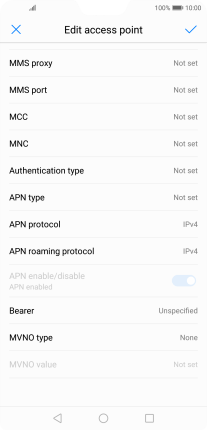
Key in 234 and press OK.

234
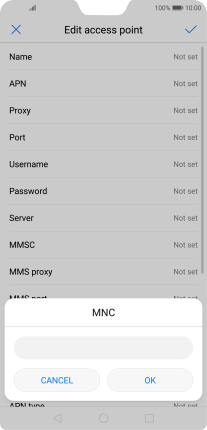
8. Enter network code
Press MNC.

Key in 15 and press OK.
15
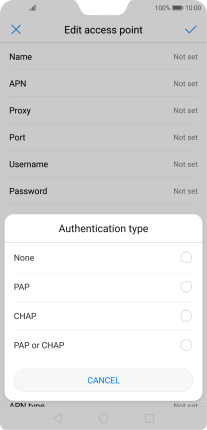
9. Select authentication type
Press Authentication type.

Press None.
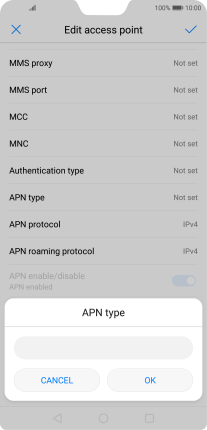
10. Enter APN type
Press APN type.

Key in default and press OK.
default
11. Save data connection
Press the confirm icon.

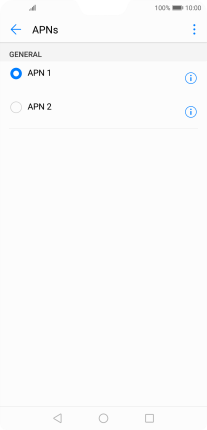
Press the field next to the required data connection to activate it.
12. Return to the home screen
Press the Home key to return to the home screen.
