

Motorola Moto G8 Power Lite


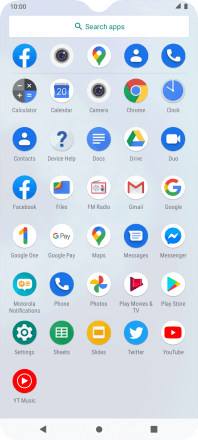
1. Find "Contacts"
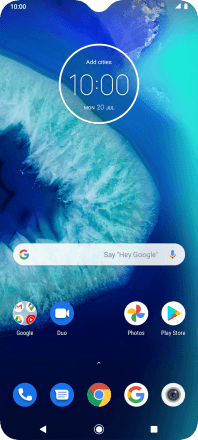
Slide your finger upwards on the screen.


1. Find "Contacts"
Press Contacts.


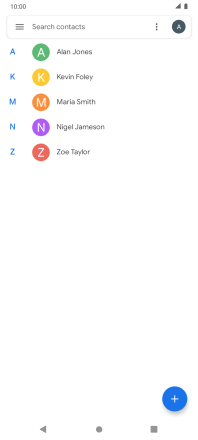
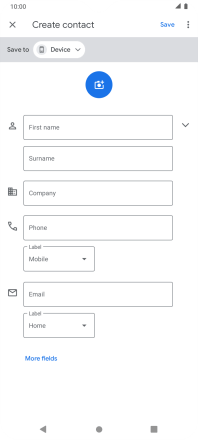
2. Create contact
Press the new contact icon.


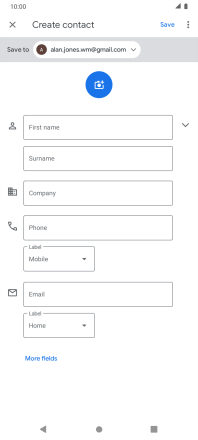
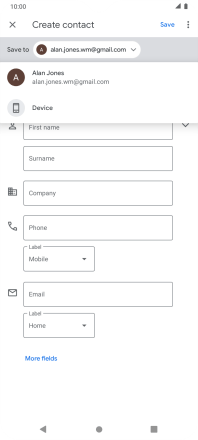
3. Select address book
Press the drop down list next to "Save to".


3. Select address book
Press Device.


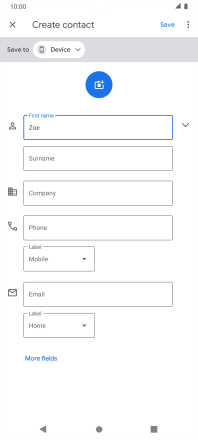
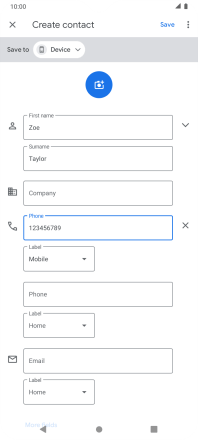
4. Enter first name
Press First name and key in the first name.


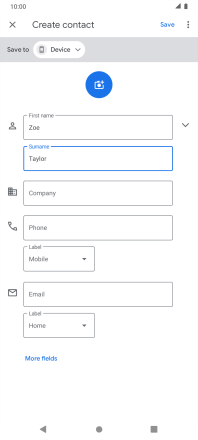
5. Enter last name
Press Surname and key in the last name.


6. Enter phone number
Press Phone and key in the phone number.


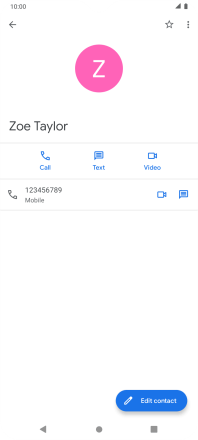
7. Save contact
Press Save.


8. Return to the home screen
Press the Home key to return to the home screen.
1. Find "Contacts"
2. Create contact
3. Select address book
4. Enter first name
5. Enter last name
6. Enter phone number
7. Save contact
8. Return to the home screen
Get the App

