

Motorola Moto G8 Power Lite


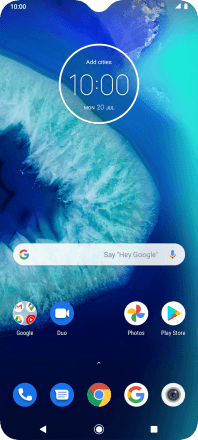
1. Find "Settings"
Slide your finger upwards on the screen.


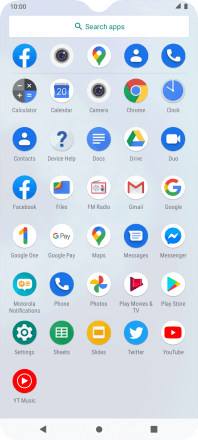
1. Find "Settings"
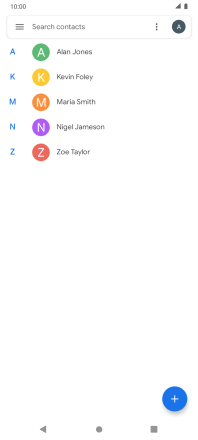
Press Contacts.


1. Find "Settings"
Slide your finger right starting from the left side of the screen.


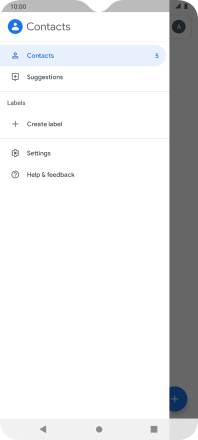
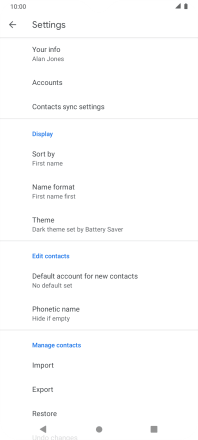
1. Find "Settings"
Press Settings.


2. Import contacts from your SIM to your phone
Press Import.


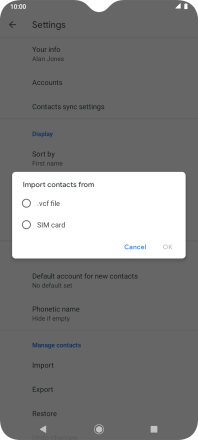
2. Import contacts from your SIM to your phone
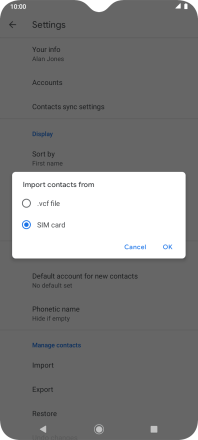
Press SIM card.


2. Import contacts from your SIM to your phone
Press OK.


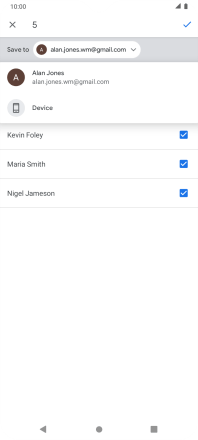
2. Import contacts from your SIM to your phone
Press the drop down list next to "Save to".


2. Import contacts from your SIM to your phone
Press Device.


2. Import contacts from your SIM to your phone
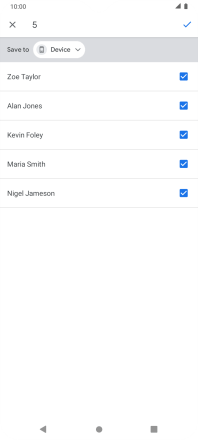
Press the fields next to the required contacts to select them.
2. Import contacts from your SIM to your phone
Press the confirm icon.
3. Return to the home screen
Press the Home key to return to the home screen.
1. Find "Settings"
2. Import contacts from your SIM to your phone

3. Return to the home screen
Get the App

