Motorola Moto G9 PLAY
Android 10.0
Select help topic
1. Find "Date & time"
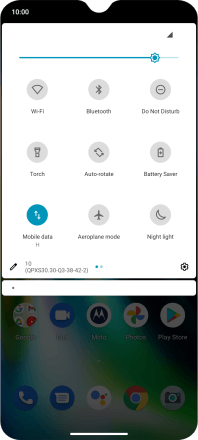
Slide two fingers downwards starting from the top of the screen.
Press the settings icon.
Press System.
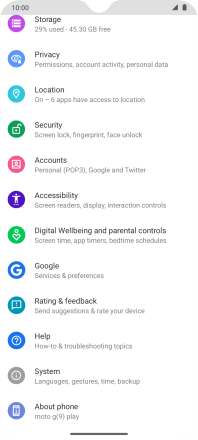
Press Date & time.
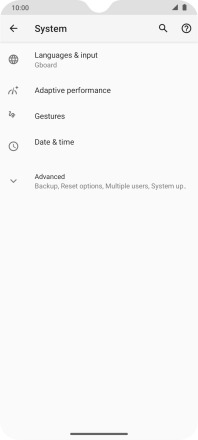
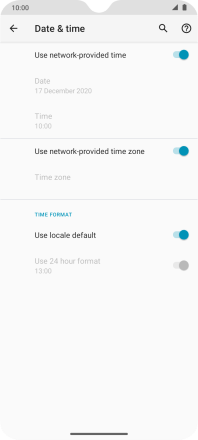
2. Turn on automatic date and time update
Press the indicator next to "Use network-provided time" to turn on the function.
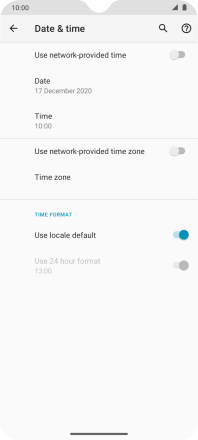
3. Turn on automatic time zone update
Press the indicator next to "Use network-provided time zone" to turn on the function.
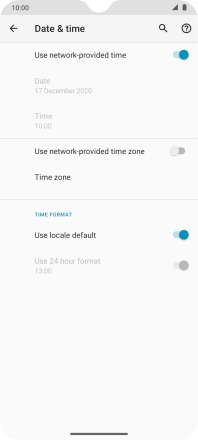
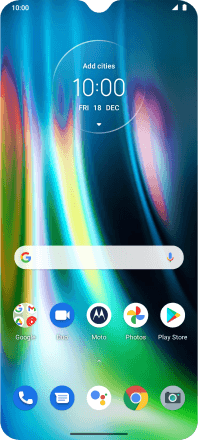
4. Return to the home screen
Slide your finger upwards starting from the bottom of the screen to return to the home screen.
