Samsung Galaxy A12
Android 10.0
Select help topic
1. Find "Contacts"
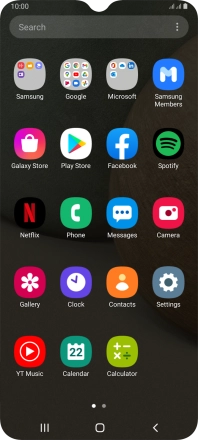
Slide your finger upwards on the screen.
![](http://cdn.sp-selfservice.com/ml/7150524-f-57c6043a-b9e4-4e32-9587-52130c062072.png?width=198&height=444)
Press Contacts.
![](http://cdn.sp-selfservice.com/ml/7150524-f-fdb562e0-7be6-4e0d-ac41-4bc3c6f0427f.png?width=198&height=444)
2. Create contact
Press the new contact icon.
![](http://cdn.sp-selfservice.com/ml/7150524-f-858e8280-88eb-4855-a668-16ab8289c5e4.png?width=198&height=444)
3. Select address book
Press the address book drop down list.
![](http://cdn.sp-selfservice.com/ml/7150524-f-6f666759-8ab4-4e33-a10c-9673cb03db19.png?width=198&height=444)
Press Phone.
![](http://cdn.sp-selfservice.com/ml/7150524-f-1af99f68-2e36-4a40-bfa4-87a6dadd3d02.png?width=198&height=444)
4. Enter name
Press the field below "Name" and key in the required name.
![](http://cdn.sp-selfservice.com/ml/7150524-f-6f666759-8ab4-4e33-a10c-9673cb03db19.png?width=198&height=444)
5. Enter phone number
Press Phone and key in the required phone number.
Follow the instructions on the screen to add more information such as an email address and a personal ring tone.
![](http://cdn.sp-selfservice.com/ml/7150524-f-ef0c8d7f-6730-4cdb-801d-63a965a0d6d0.png?width=198&height=444)
6. Save contact
Press Save.
![](http://cdn.sp-selfservice.com/ml/7150524-f-241f470f-a14b-4dcb-b39a-e0f5848077f0.png?width=198&height=444)
7. Return to the home screen
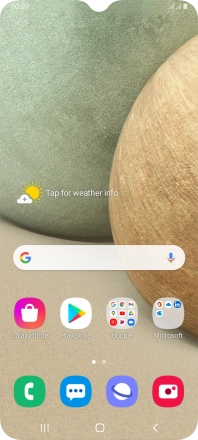
Press the Home key to return to the home screen.
![](http://cdn.sp-selfservice.com/ml/7150524-f-c394e5c0-aed7-4dac-8635-9b3ffd90721e.png?width=198&height=444)