Samsung Galaxy A53 5G
Android 12.0
Select help topic
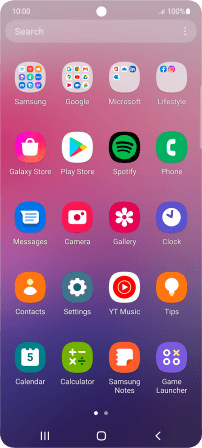
1. Find "Contacts"
Slide your finger upwards on the screen.
![](http://cdn.sp-selfservice.com/ml/7160123-f-6ceee3b6-3165-44ad-8b5f-25133a2d59f0.png?width=202&height=452)
Press Contacts.
![](http://cdn.sp-selfservice.com/ml/7160123-f-52f2bda5-4cd3-40f2-bc8b-bbf27c1a5074.png?width=202&height=452)
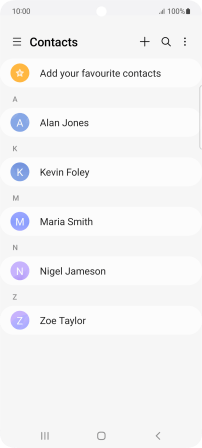
2. Create contact
Press the new contact icon.
![](http://cdn.sp-selfservice.com/ml/7160123-f-655f4e27-fa3a-4c5a-8265-05cd75d5b5b6.png?width=202&height=452)
3. Select address book
Press the address book drop down list.
![](http://cdn.sp-selfservice.com/ml/7160123-f-7a3e0627-b6ad-48d4-b916-da4b9e095ec1.png?width=202&height=452)
Press Phone.
![](http://cdn.sp-selfservice.com/ml/7160123-f-928841f1-2f79-45bd-a59d-2b9a0c0167cd.png?width=202&height=452)
4. Enter name
Press Name and key in the required name.
![](http://cdn.sp-selfservice.com/ml/7160123-f-86efbcfc-98c9-4588-8b9b-124368658a4d.png?width=202&height=452)
5. Enter phone number
Press Phone and key in the required phone number.
Follow the instructions on the screen to add more information such as an email address and a personal ring tone.
![](http://cdn.sp-selfservice.com/ml/7160123-f-e6015ae1-48b6-4b4e-8790-2338d875bbc1.png?width=202&height=452)
6. Save contact
Press Save.
![](http://cdn.sp-selfservice.com/ml/7160123-f-9279cc32-e51f-4c53-ae3b-227d658ae2c5.png?width=202&height=452)
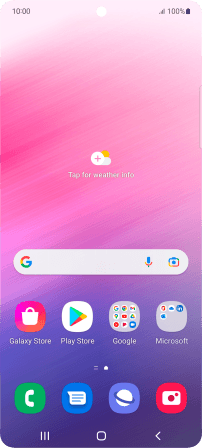
7. Return to the home screen
Press the Home key to return to the home screen.
![](http://cdn.sp-selfservice.com/ml/7160123-f-e4e65030-0dd1-46d9-8725-7c470fb41967.png?width=202&height=452)