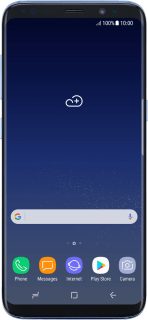
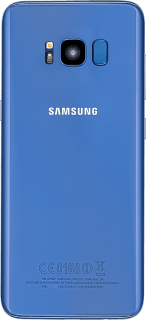
Samsung Galaxy S8
Android 7.0
Select help topic
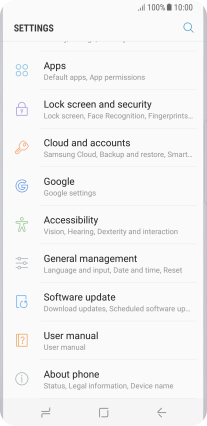
1. Find "Accounts"
Slide your finger downwards starting from the top of the screen.
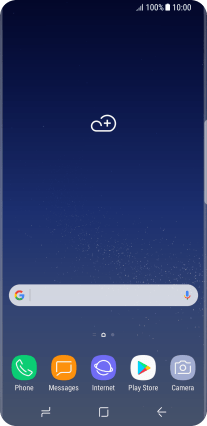
Press the settings icon.
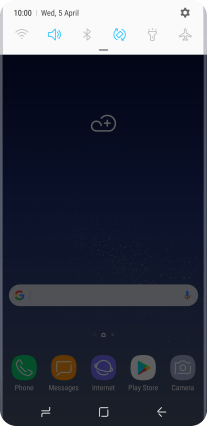
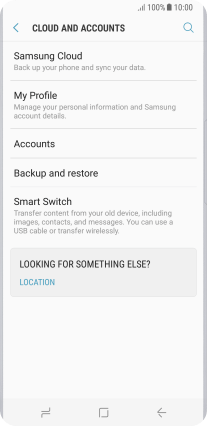
Press Cloud and accounts.
Press Accounts.
2. Turn on automatic content synchronisation
Press the menu icon.
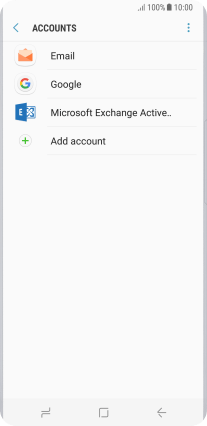
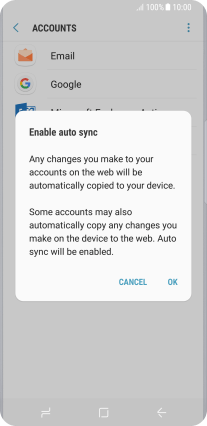
Press Enable auto sync.
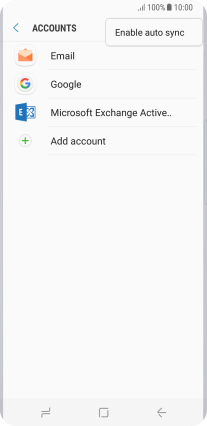
Press OK.
3. Turn off automatic content synchronisation
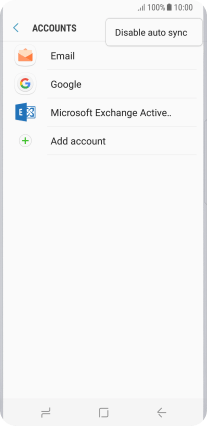
Press the menu icon.

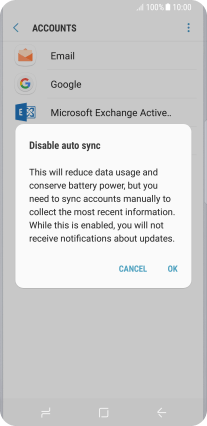
Press Disable auto sync.
Press OK.
4. Return to the home screen
Press the Home key to return to the home screen.

