
Samsung Galaxy S9


1. Find "Accounts"
Slide your finger downwards starting from the top of the screen.


1. Find "Accounts"
Press the settings icon.


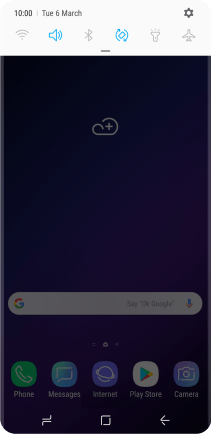
1. Find "Accounts"
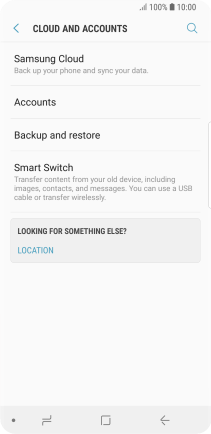
Press Cloud and accounts.


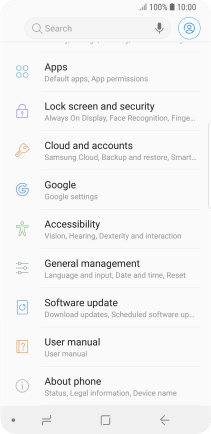
1. Find "Accounts"
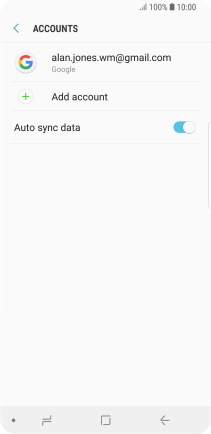
Press Accounts.


2. Select social network or email account
Press the required account.


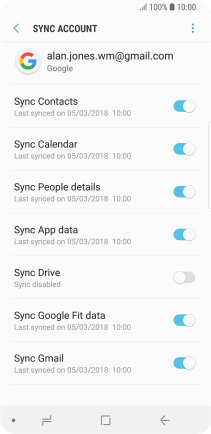
3. Copy contacts
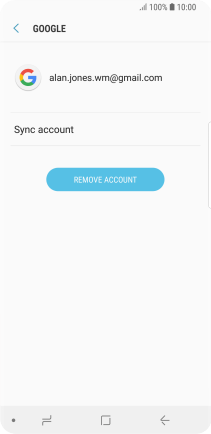
Press Sync account.


3. Copy contacts
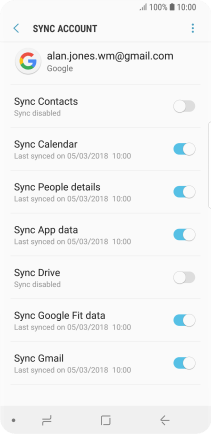
Press the indicator next to "Sync Contacts" to turn on the function.


4. Return to the home screen
Press the Home key to return to the home screen.
1. Find "Accounts"
2. Select social network or email account
3. Copy contacts
4. Return to the home screen
Get the App

