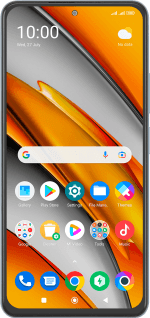
Xiaomi Poco F3
Android 12.0
Select help topic
1. Find "Access point names"
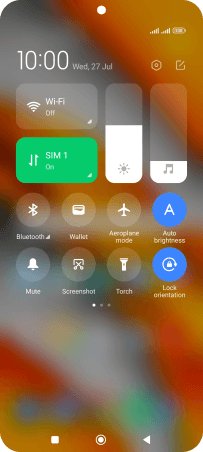
Slide two fingers downwards starting from the top of the screen.
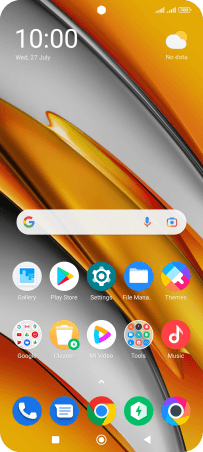
Press the settings icon.
Press SIM cards & mobile networks.
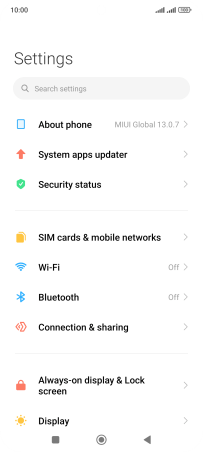
Press the required SIM.
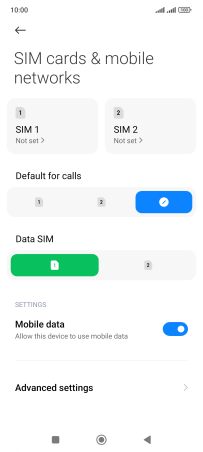
Press Access point names.
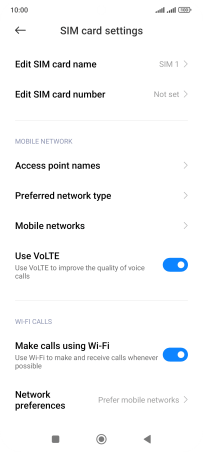
2. Create new data connection
Press New APN.
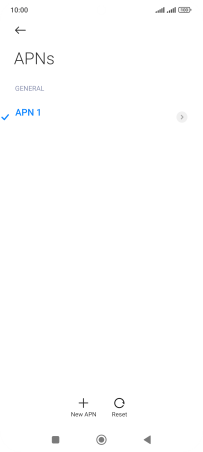
Press Name.
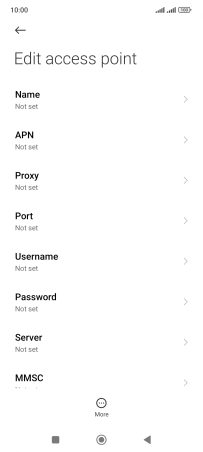
Key in Lebara Internet and press OK.
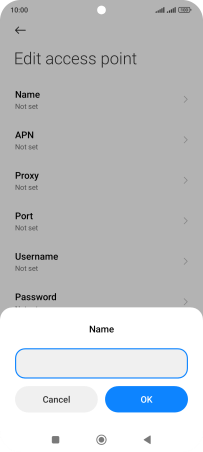
Lebara Internet
3. Enter APN
Press APN.

Key in uk.lebara.mobi and press OK.

uk.lebara.mobi
4. Enter username
Press Username.

Key in wap and press OK.
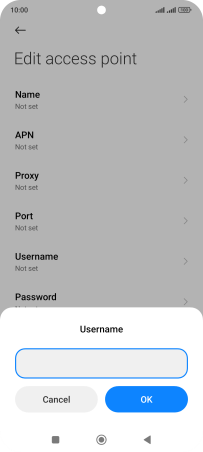
wap
5. Enter password
Press Password.

Key in wap and press OK.
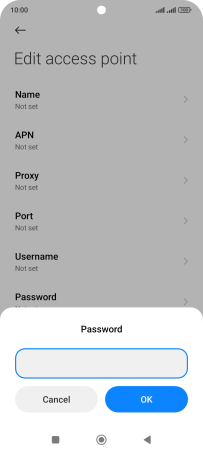
wap
6. Enter country code
Press MCC.
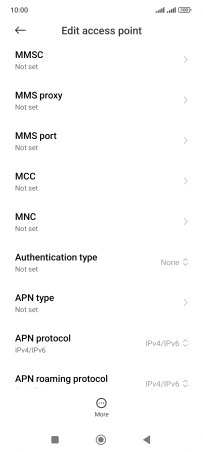
Key in 234 and press OK.
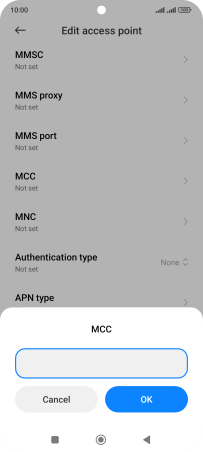
234
7. Enter network code
Press MNC.

Key in 15 and press OK.
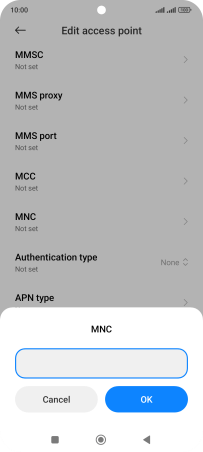
15
8. Select authentication type
Press Authentication type.

Press None.
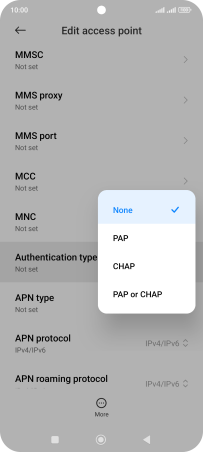
9. Enter APN type
Press APN type.

Key in default and press OK.
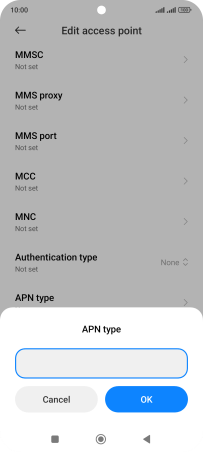
default
10. Save data connection
Press More.

Press Save.
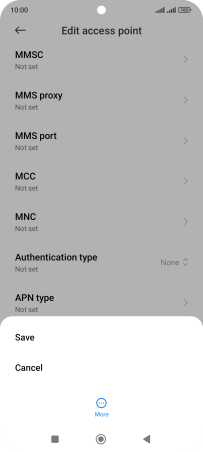
Press the required data connection to activate it.

11. Return to the home screen
Press the Home key to return to the home screen.

