

Xiaomi Poco F3


Find "Start chat"
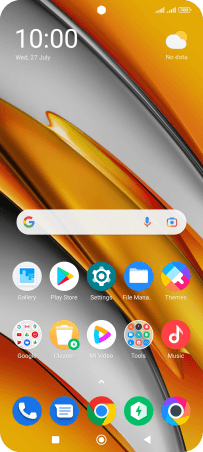
Press the message icon.


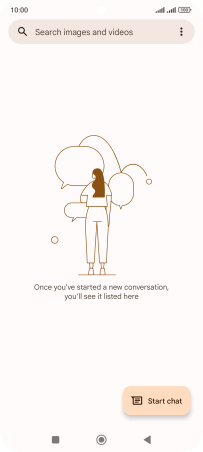
Find "Start chat"
Press Start chat.


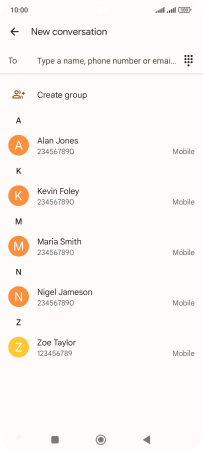
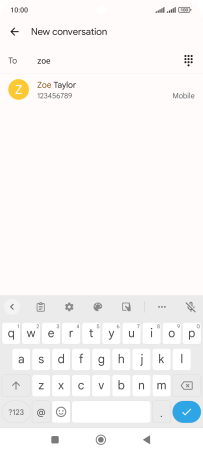
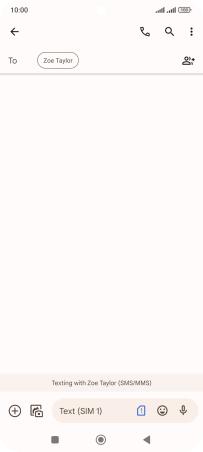
Select recipient
Press the field next to "To" and key in the first letters of the recipient's name.


Select recipient
Press the required contact.


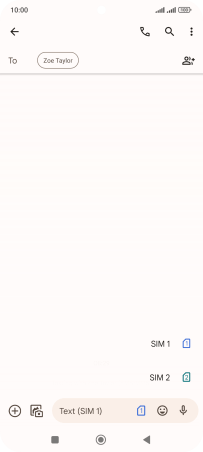
Select SIM
Press the SIM icon.


Select SIM
Press the required SIM.
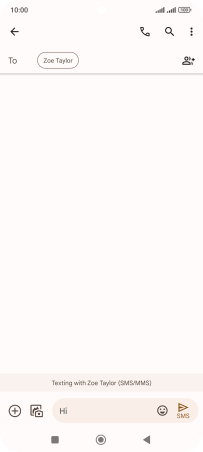
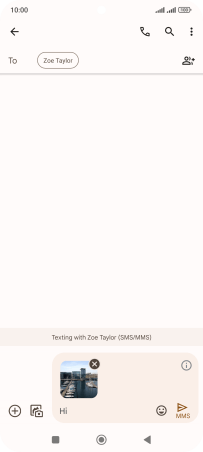
Write text
Press the text input field and write the text for your picture message.


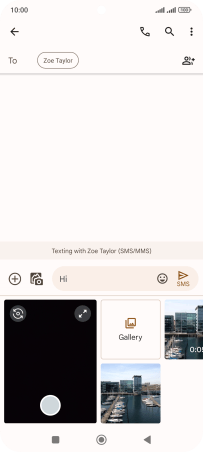
Insert picture
Press the camera icon.


Insert picture
Press Gallery and go to the required folder.


Insert picture
Press the required picture.


Send picture message
Press the send icon when you've finished your picture message.
Return to the home screen
Press the Home key to return to the home screen.
1 Find "Start chat"
2 Select recipient
3 Select SIM
4 Write text
5 Insert picture

6 Send picture message
7 Return to the home screen
Get the App

