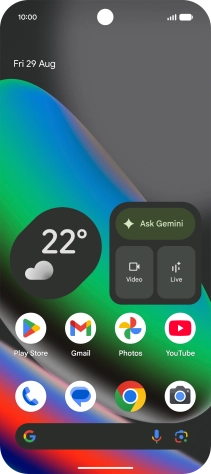
Google Pixel 10
Google Pixel 10

Google Pixel 10

Android 16

Set up your Google Pixel 10 Android 16 for picture messaging

A picture message is a message which can contain pictures and other media files and can be sent to other mobile phones. You can send and receive picture messages as soon as you've inserted your SIM. If this isn't the case, you can set up your phone for picture messaging manually.

Step 1 of 21

1. Find "Access point names"

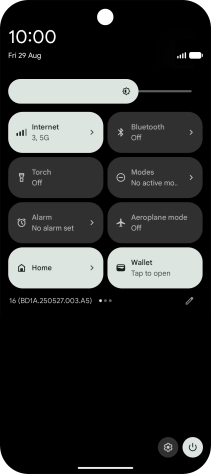
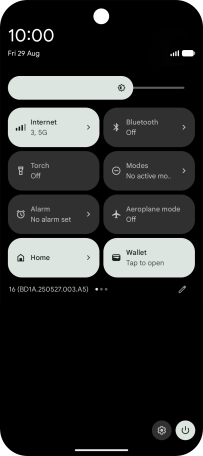
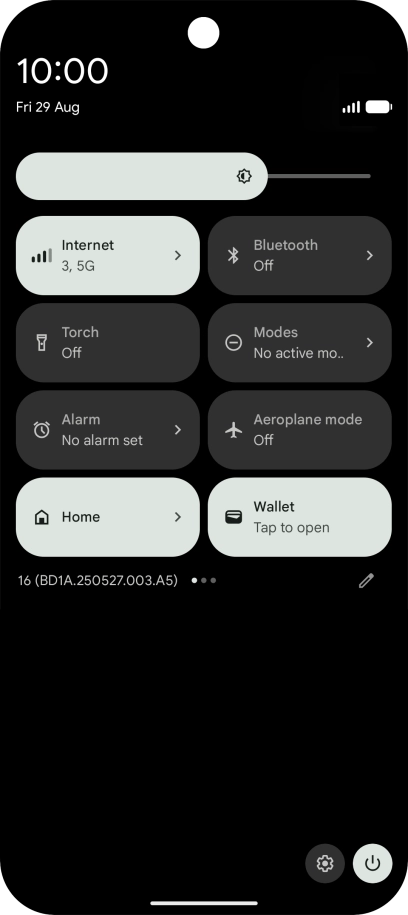
Slide two fingers downwards starting from the top of the screen.
Step 2 of 21

1. Find "Access point names"

Press the settings icon.

Step 3 of 21

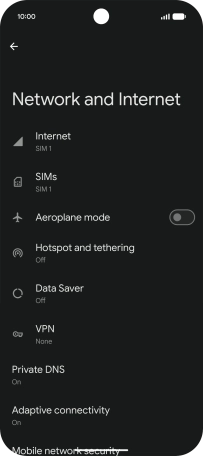
1. Find "Access point names"

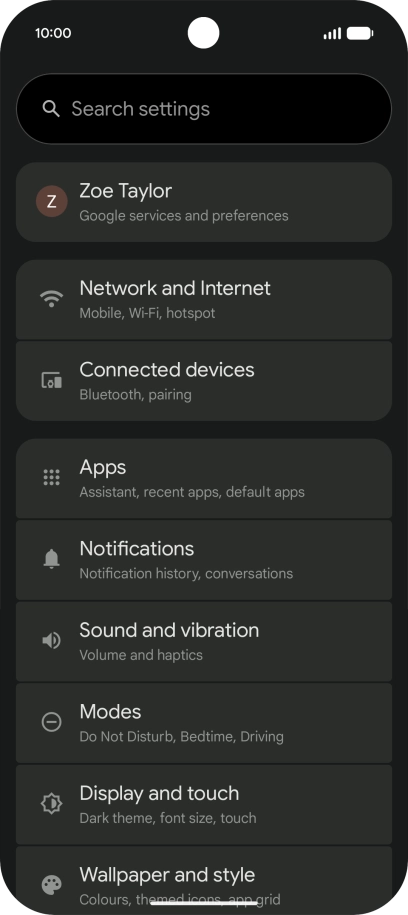
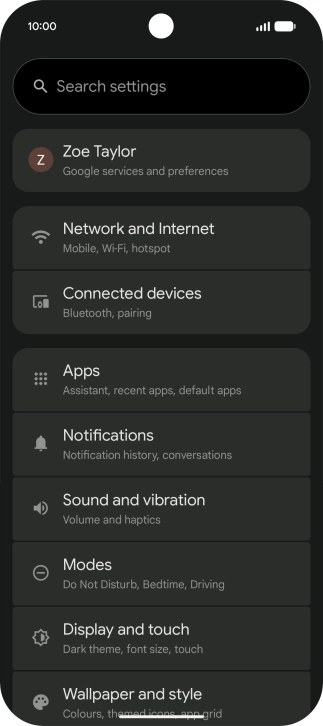
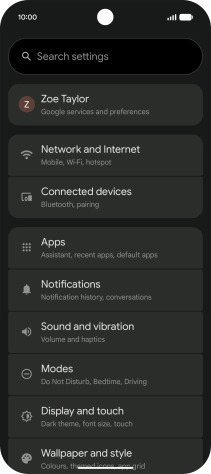
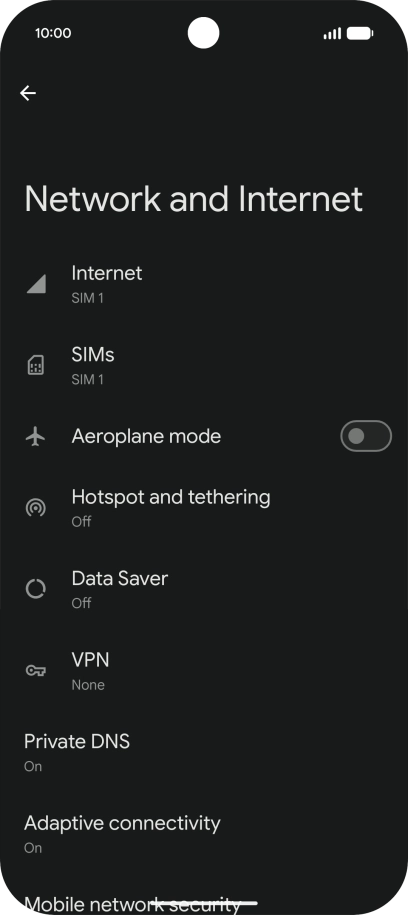
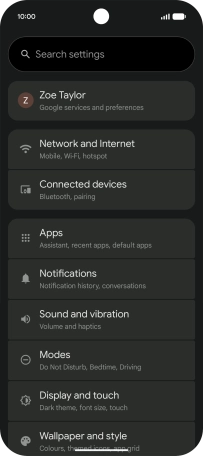
Press Network and Internet.

Step 4 of 21

1. Find "Access point names"

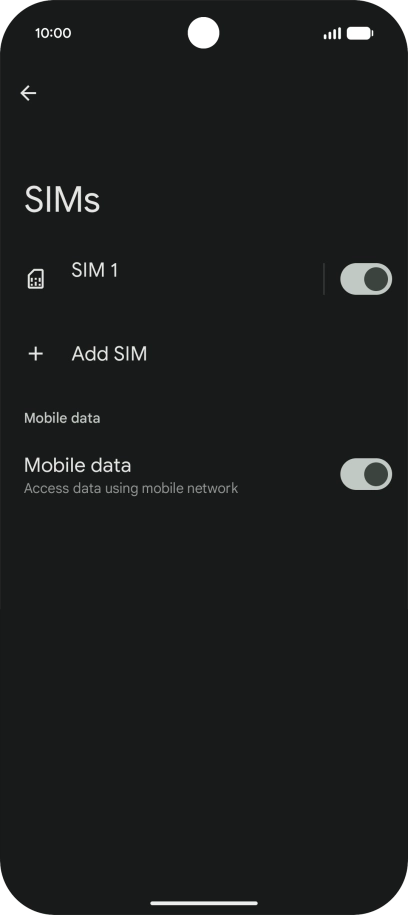
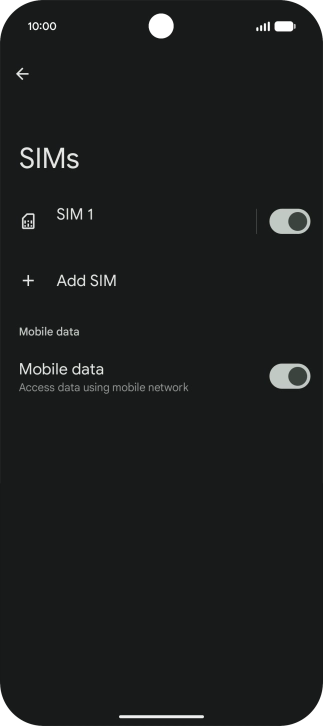
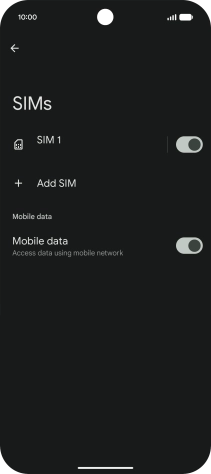
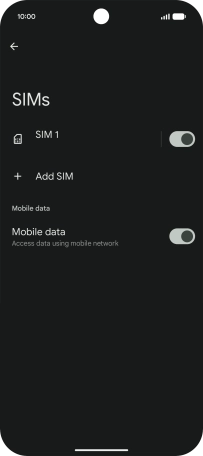
Press SIMs.

Step 5 of 21

1. Find "Access point names"

Press the name of the SIM.

Step 6 of 21

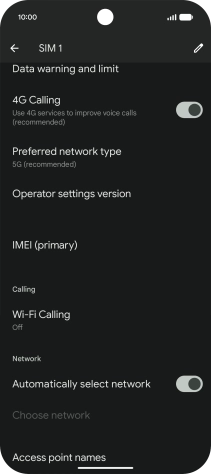
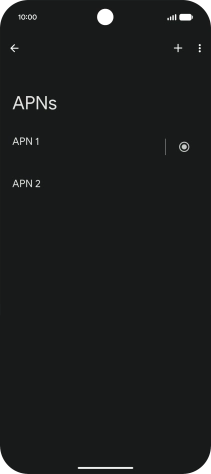
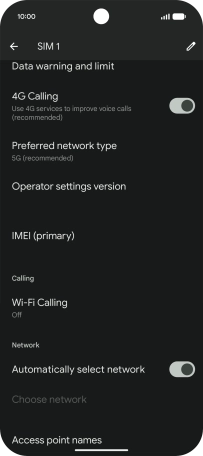
1. Find "Access point names"

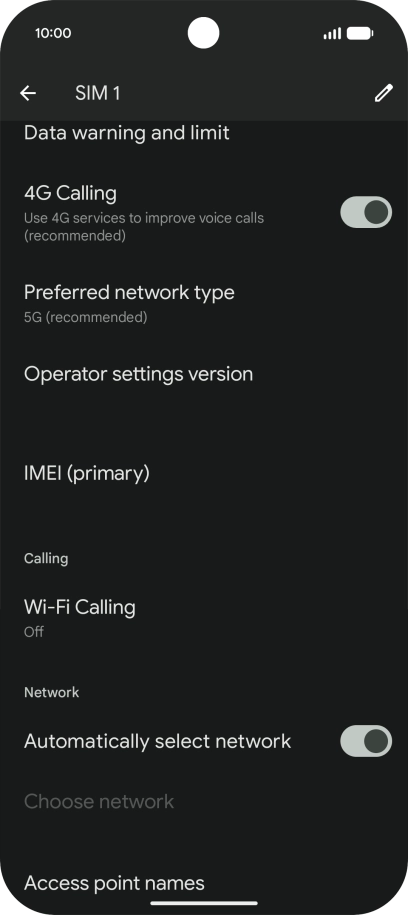
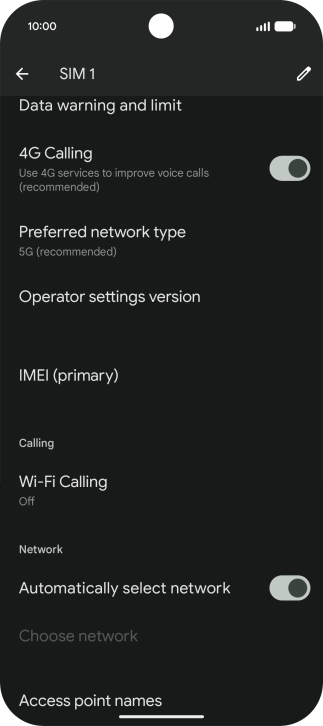
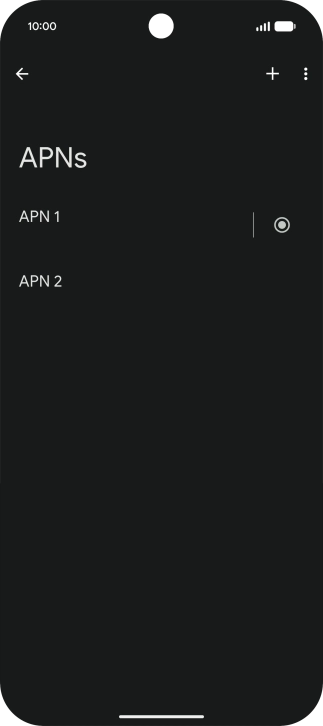
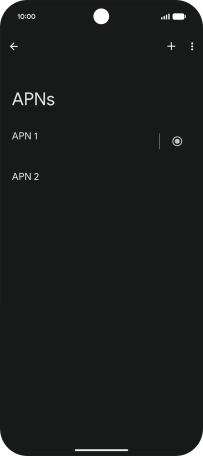
Press Access point names.

Step 7 of 21

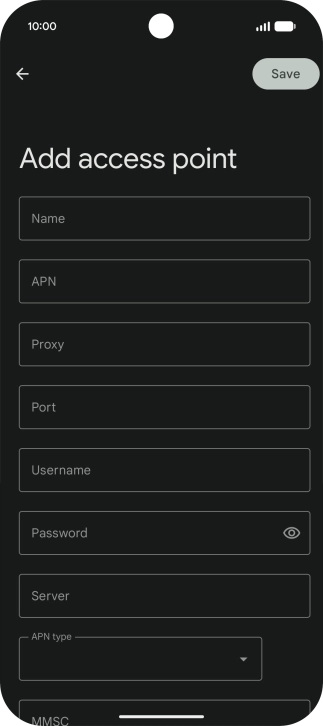
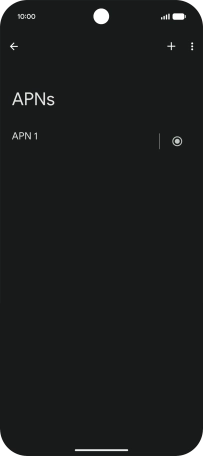
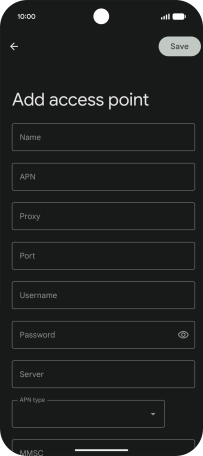
2. Create new data connection

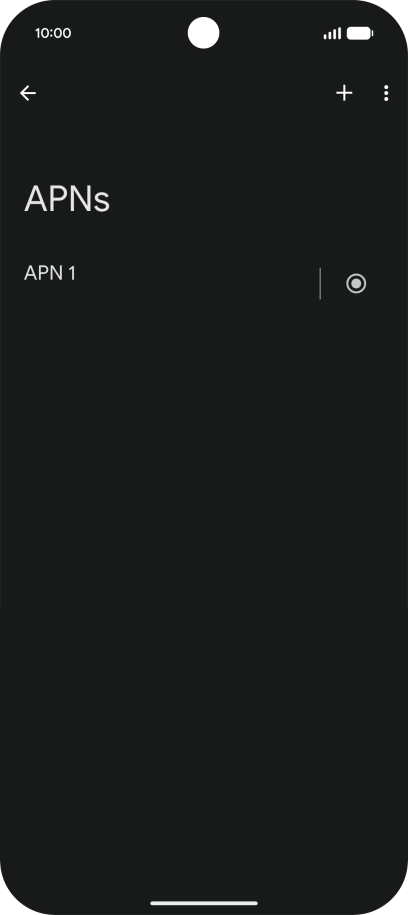
Press the add icon.

Lebara MMS
Step 8 of 21

2. Create new data connection

Key in Lebara MMS in the Name field.

uk.lebara.mobi
Step 9 of 21

3. Enter APN

Key in uk.lebara.mobi in the APN field.

wap
Step 10 of 21

4. Enter username

Key in wap in the Username field.

wap
Step 11 of 21

5. Enter password

Key in wap in the Password field.

Step 12 of 21

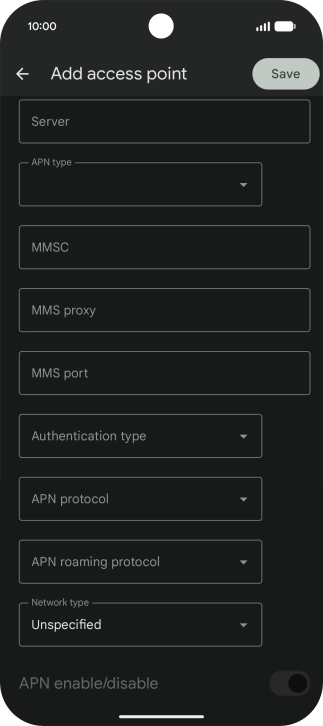
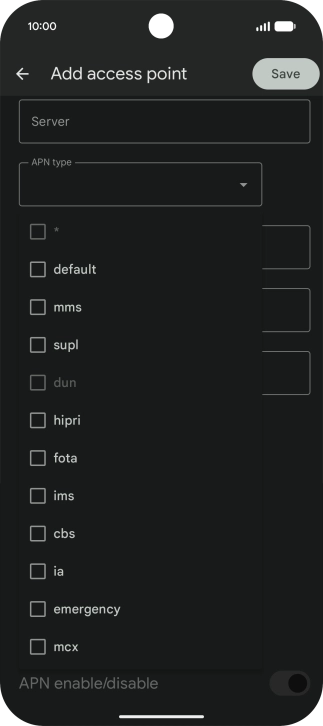
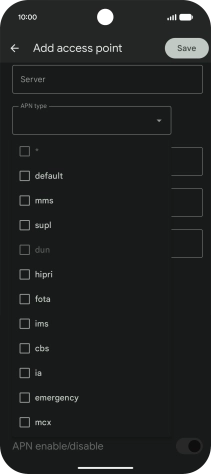
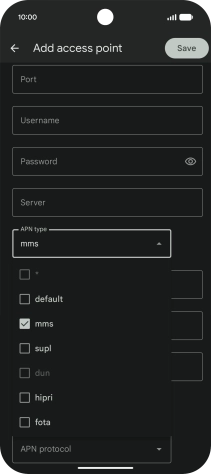
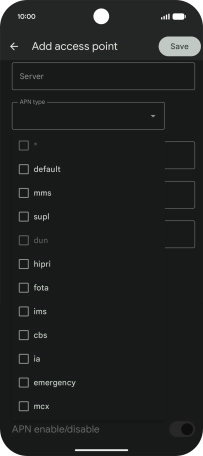
6. Select APN type

Press the drop down list next to "APN type".

Step 13 of 21

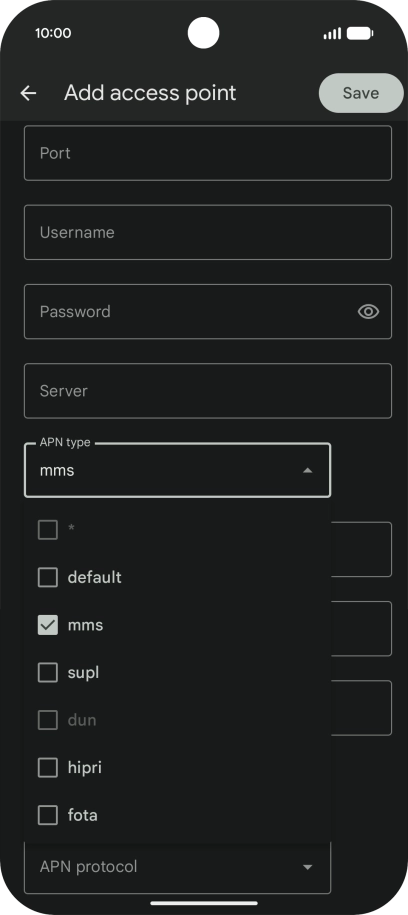
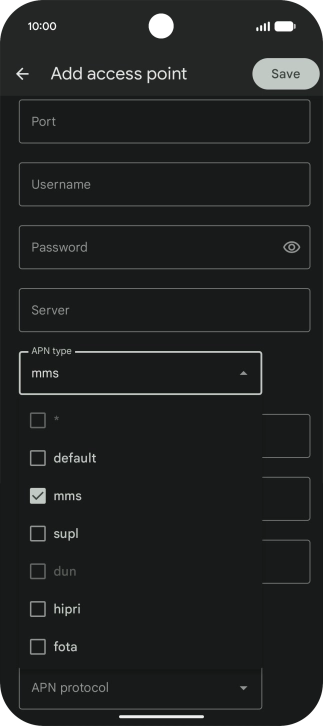
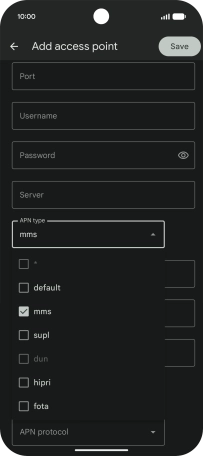
6. Select APN type

Press mms to turn on the setting.

Step 14 of 21

6. Select APN type

Press arrow up.

http://mms.lebara.co.uk/servlets/mms
Step 15 of 21

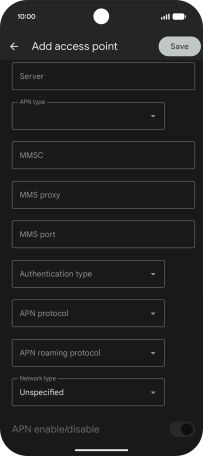
7. Enter picture messaging server

Key in http://mms.lebara.co.uk/servlets/mms in the MMSC field.

212.183.137.012
Step 16 of 21

8. Enter IP address

Key in 212.183.137.012 in the MMS proxy field.

8799
Step 17 of 21

9. Enter port number

Key in 8799 in the MMS port field.

Step 18 of 21

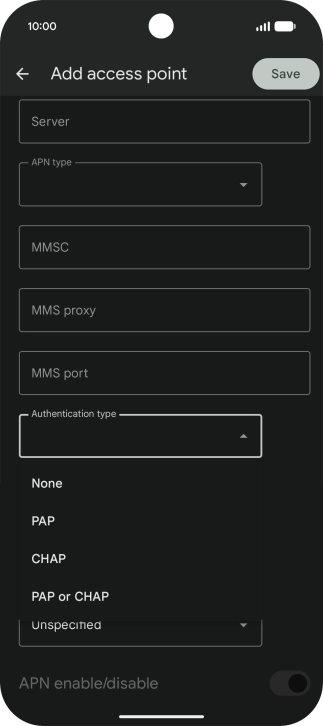
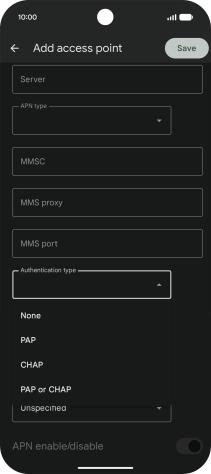
10. Select authentication type

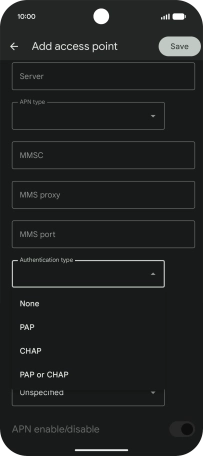
Press the drop down list next to "Authentication type".

Step 19 of 21

10. Select authentication type

Press None.

Step 20 of 21

11. Save data connection

Press Save.

Step 21 of 21

12. Return to the home screen

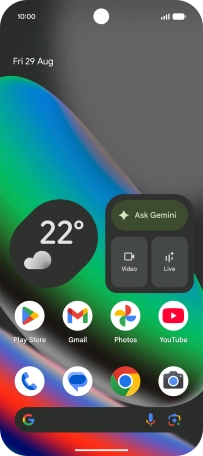
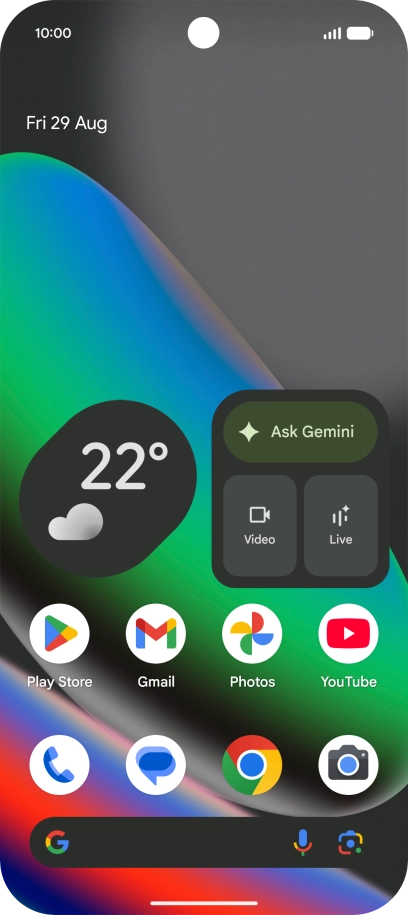
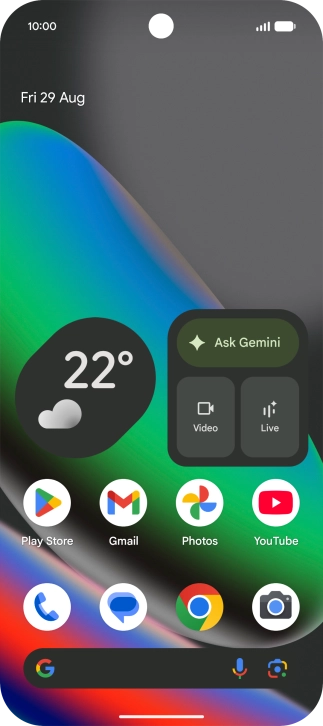
Slide your finger upwards starting from the bottom of the screen to return to the home screen.

1. Find "Access point names"

Slide two fingers downwards starting from the top of the screen.
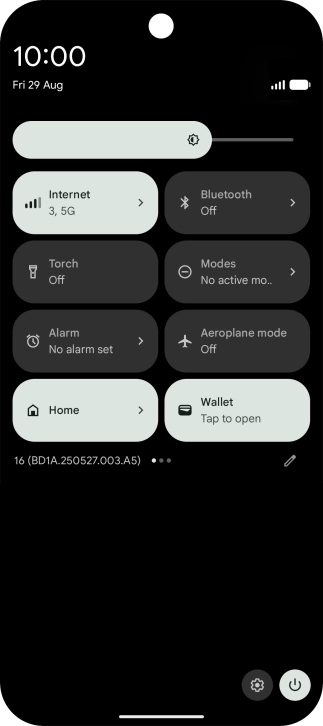
Press the settings icon.
Press Network and Internet.
Press SIMs.
Press the name of the SIM.
Press Access point names.

2. Create new data connection

Press the add icon.
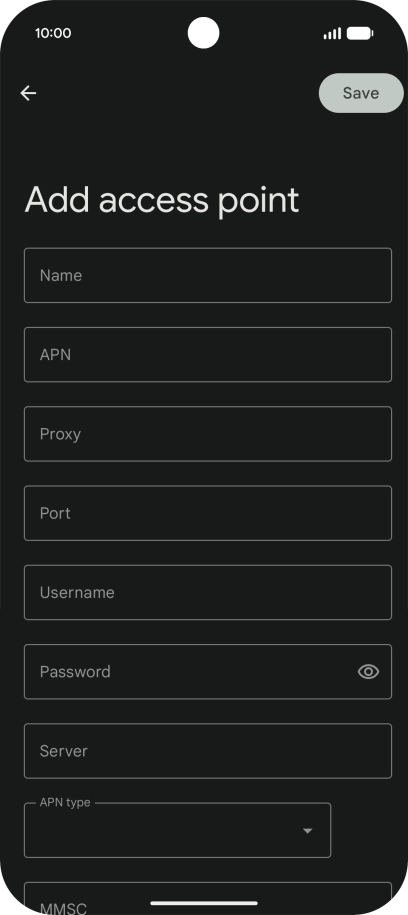
Key in Lebara MMS in the Name field.
Lebara MMS

3. Enter APN

Key in uk.lebara.mobi in the APN field.
uk.lebara.mobi

4. Enter username

Key in wap in the Username field.
wap

5. Enter password

Key in wap in the Password field.
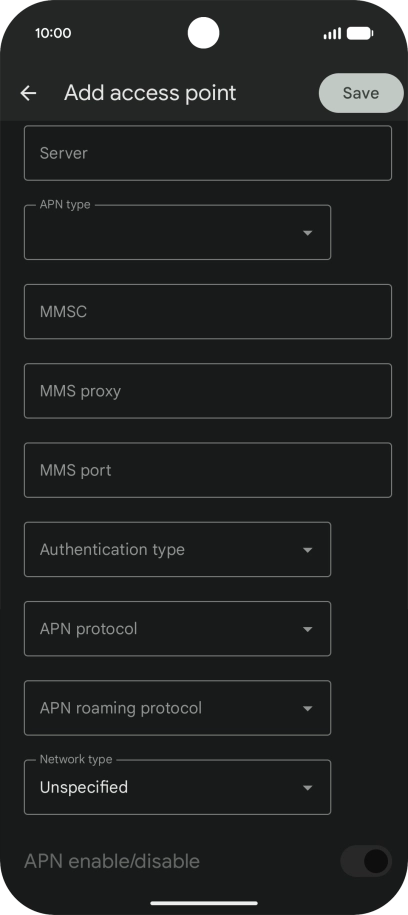
wap

6. Select APN type

Press the drop down list next to "APN type".
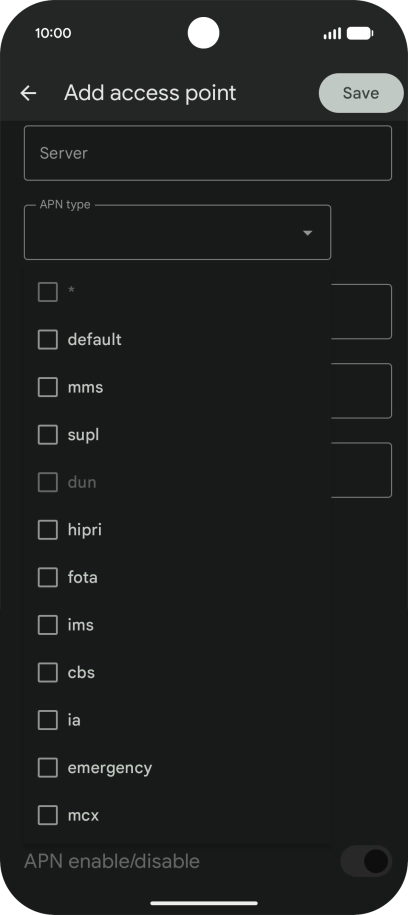
Press mms to turn on the setting.
Press arrow up.

7. Enter picture messaging server

Key in http://mms.lebara.co.uk/servlets/mms in the MMSC field.
http://mms.lebara.co.uk/servlets/mms

8. Enter IP address

Key in 212.183.137.012 in the MMS proxy field.
212.183.137.012

9. Enter port number

Key in 8799 in the MMS port field.
8799

10. Select authentication type

Press the drop down list next to "Authentication type".
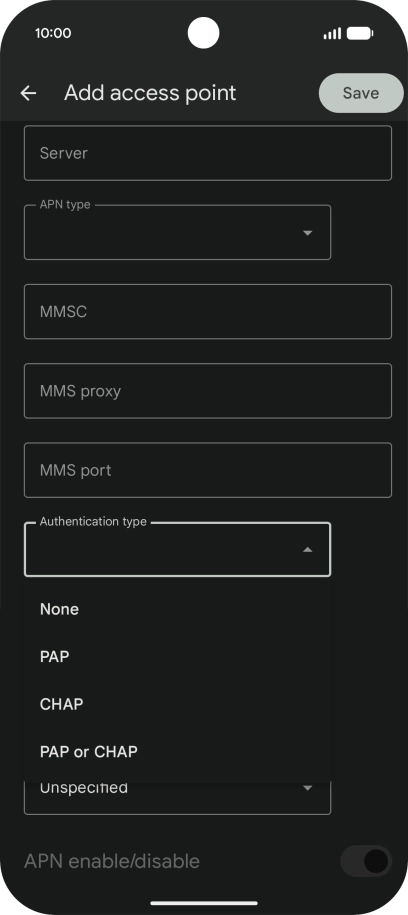
Press None.

11. Save data connection

Press Save.
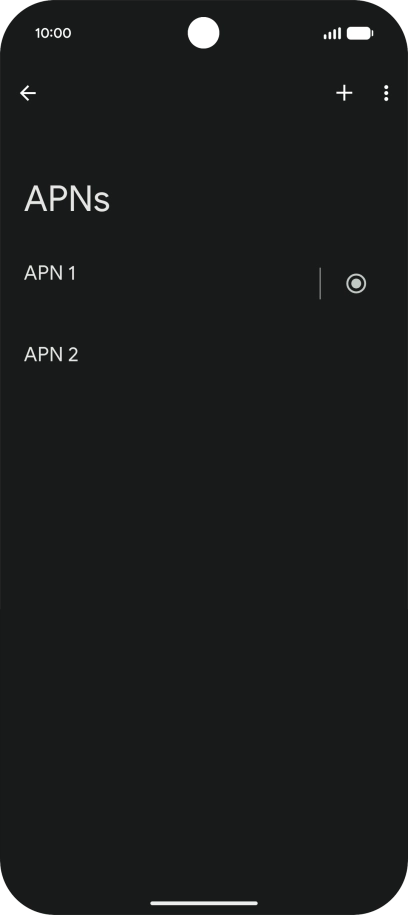
12. Return to the home screen

Slide your finger upwards starting from the bottom of the screen to return to the home screen.

Get information on...

Or choose...